People today are spoiled by images from Hubble and other professional observatories. These images can do wonders to spark an interest in astronomy, but they can also lead to unrealistic expectations that leave newcomers disappointed at the eyepiece. So, why not make your own images? The equipment today that is available to amateurs is light years ahead of what was available to professional astronomers only decades ago.
It’s been said that astrophotography and astronomy are two completely separate hobbies. I’ve found myself more attracted to astrophotography rather than visual observing lately for a couple of reasons. The first is the “Hubble effect”, meaning that the images I take are much more pleasing than looking through an eyepiece. The second is that I can share my photos. The last reason is that astrophotography is a blend of two of my interests; astronomy and computers/electronics.
After a couple of years in the hobby, I have finally amassed a decent imaging setup. The Astro-Tech AT90EDT APO refractor is an ideal scope for a beginner. The relatively short focal length of 600mm is much more forgiving of tracking errors than an SCT and it doesn’t require a mammoth mount to carry it (though it is built like a tank). I acquired a used Losmandy G-11 over the summer which can carry the AT90EDT without breaking a sweat (plenty of upgrade room :). The mount came with the 492 digital drive, so it doesn’t do GoTo’s. It also came equiped with the Celestron Advanced Astromaster DSC system. I found this to be very hit or miss. Sometimes it would put objects right in the middle of the FoV and other times it would be more than 90 degrees off. Another benefit of a short focal length refractor is finding targets since it’s a manual process at this point. I have been using a Canon Rebel T1i DSLR as my imaging camera.
I was able to capture several targets over the summer and fall but I think I’m done imaging until spring since winter in Minnesota is pretty harsh. My processing skills have improved, but they still have a long way to go. I’m also limited by my refusal to use any OS other than Linux. Anyhow, here are some of my best images from this past season.

-

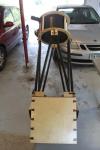
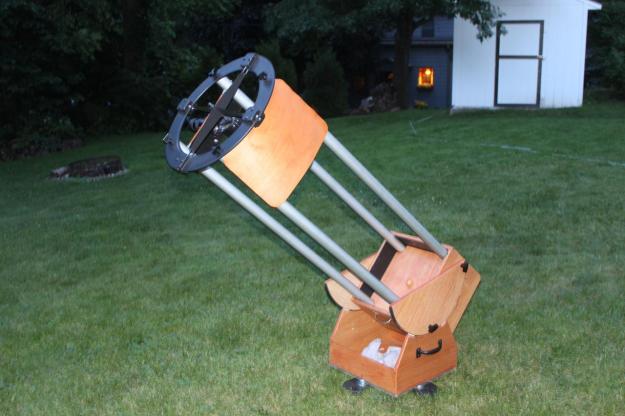
- My imaging rig. A Losmandy G-11 carrying an AT90EDT with a Canon Rebel T1i DSLR.
-

- The Double Cluster
-
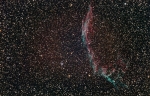
- I think this is my best image to date, despite the red gradient. NGC6992.
-

- The moon
-

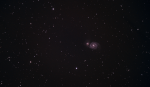
- M101
-
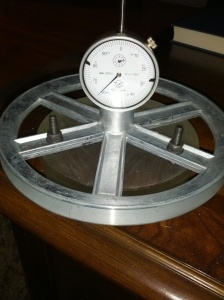
- My very first astrophoto. Strange star shapes were caused by several problems in the G-11 including a gunky gear box in the RA motor, seized needle/thrust bearings in the RA axis, and jumpy worm bearings.
-

- My first M31